
Posted on

10 Advantages of Hunting with an Airgun (and How to Choose the Right One)

Air-powered rifles have come a long way. Modern airguns combine accuracy, power, and portability in a platform that’s easier to handle and often less restricted than traditional firearms. Whether you’re chasing small game, controlling pests, or expanding your hunting options, airguns offer serious benefits for hunters of every experience level.

Below are ten key advantages of using an airgun for hunting — plus practical advice for choosing the right one for your needs.


1. Quiet Performance for Stealthy Hunting

One of the biggest advantages of airguns is how quiet they are. Because they don’t use gunpowder, there’s no loud explosion when fired. Many modern airguns also include built-in moderators or shrouds that dampen the sound even further.

That low noise level lets you stay undetected longer, line up follow-up shots, and hunt closer to populated areas without disturbing neighbors or wildlife.


2. Low Recoil and Easier Accuracy

Airguns generate very little recoil, especially compared to shotguns or centerfire rifles. With less kick, you can stay on target and shoot more accurately, which leads to cleaner, more ethical kills.

Reduced recoil also makes airguns perfect for beginners and youth hunters who are still developing steady shooting habits.


3. Lightweight and Easy to Carry

Many air rifles are lighter than traditional hunting rifles, which makes them ideal for hunters covering long distances or working through thick brush. Their compact design means less fatigue, easier handling, and faster target acquisition in tight spaces.


4. Easier Maintenance and Cheaper to Run

Airguns are simple to maintain because they don’t produce powder fouling or brass casings. Cleaning usually involves just a light wipe-down and occasional barrel maintenance.

You also save money on ammunition — pellets are inexpensive compared to firearm rounds, so you can practice more often without breaking your budget.


5. Versatility for Different Game

Airguns come in a wide range of calibers and power levels.

  • .177 and .22 calibers are perfect for small game and pest control.
  • .25 and larger calibers can be used for medium game with a high-powered PCP rifle.

The right setup allows hunters to ethically and effectively target everything from squirrels to coyotes.


In many regions, airguns aren’t classified the same way as firearms. That means they may be allowed in areas where traditional guns are restricted.

However, regulations vary — always check your local hunting and discharge laws before heading out. This flexibility can make airguns an excellent option for pest control or property management on private land.


7. Affordable Shooting and Ownership

An entry-level air rifle costs less than most hunting firearms, and pellets are just a fraction of the price of conventional ammunition. Over time, that adds up to big savings — and more practice time.

The ability to shoot regularly without worrying about ammo costs helps hunters build accuracy and confidence faster.


8. Excellent Training Tool

Because airguns reward precision over raw power, they’re ideal for improving shot placement and shooting fundamentals.

Many experienced hunters use them to train young shooters or refine their own trigger control, breathing, and aiming skills. They also make great tools for practicing during the off-season.


9. Safer Storage and Handling

While all guns demand strict safety, airguns are inherently simpler to store and transport. They don’t use gunpowder or primers, and most models can be depressurized for safe storage.

This makes them appealing for families teaching safe shooting practices or for hunters who want a low-risk way to introduce new shooters to the sport.


10. Modern Performance with Classic Skill

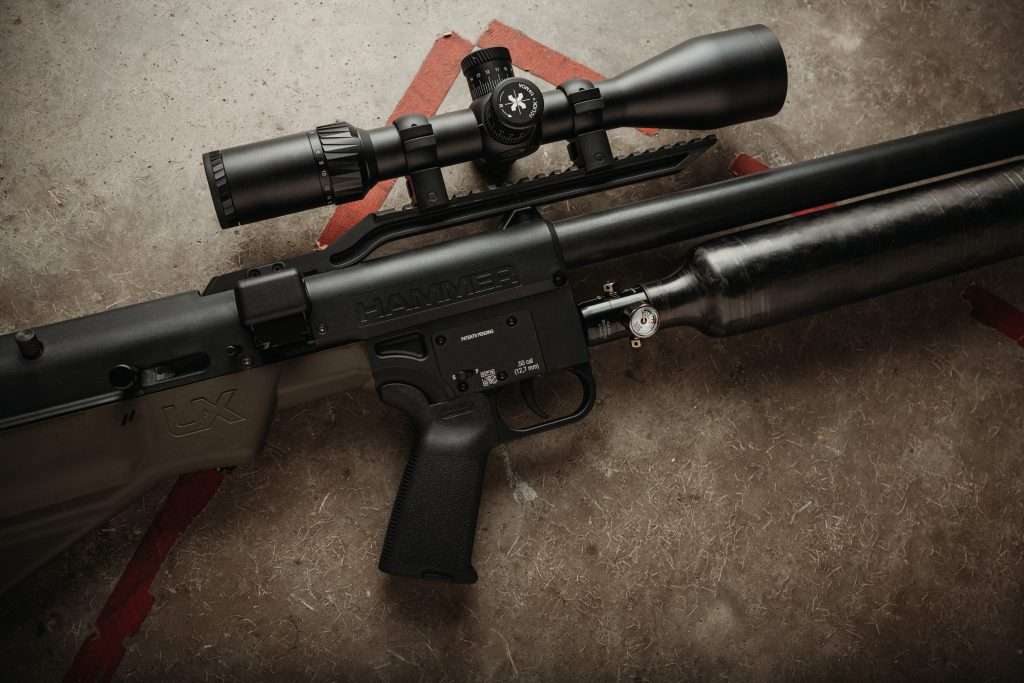
Today’s airguns are precision-engineered machines capable of impressive power and accuracy. Advanced valve systems, regulators, and barrels deliver consistent velocities that rival small-caliber firearms at short to mid-range distances.

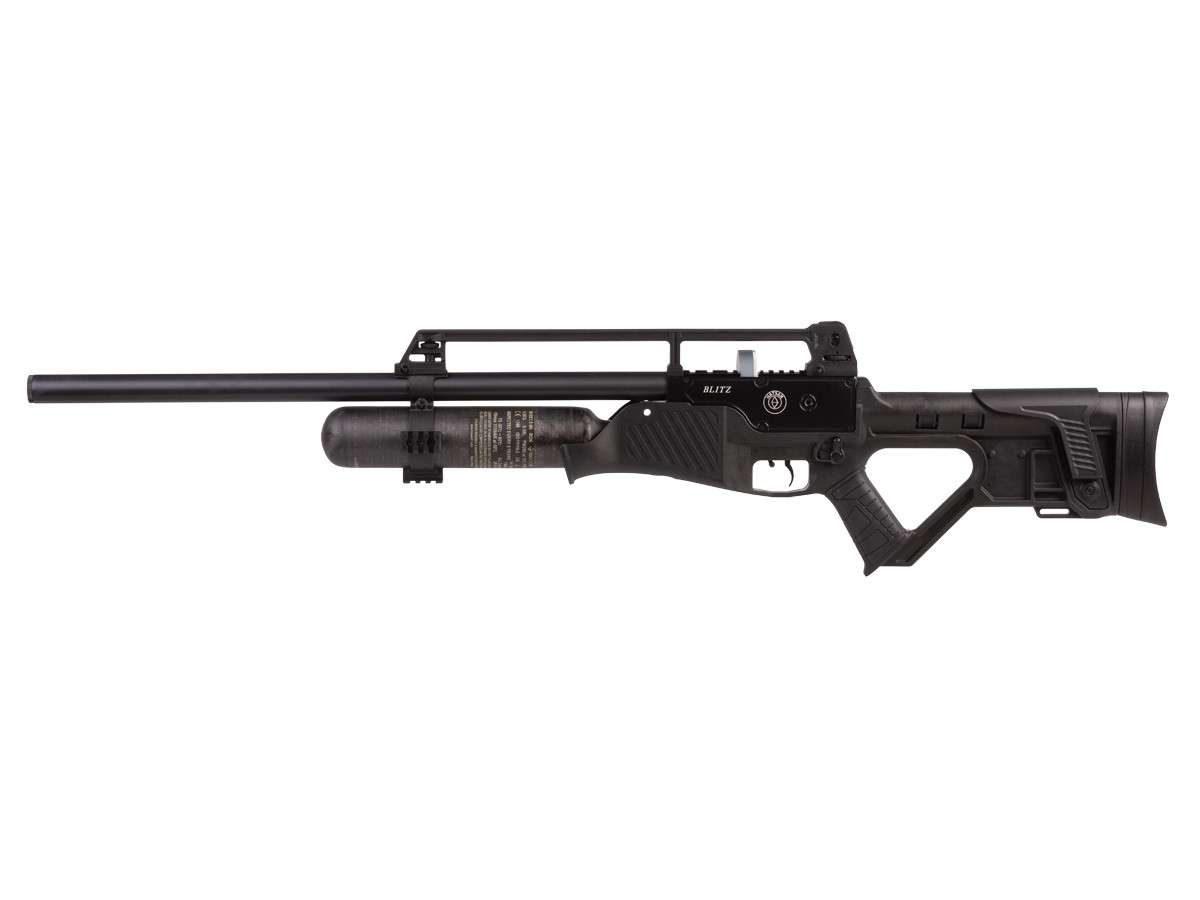
With the right setup, a high-quality PCP rifle can humanely take small to medium game while offering the quiet efficiency airguns are known for.


How to Choose the Right Airgun for Hunting

  1. Define your game. Small animals need less power than larger ones — match your airgun to your target.
  2. Select the right caliber. .177 and .22 are great for small game; .25 or .30+ for larger species.
  3. Pick a power source. Springers and pump guns are budget-friendly; CO₂ models are easy to use; PCP rifles offer the best performance for serious hunters.
  4. Test pellets. Every barrel prefers certain ammo — experiment with brands, weights, and shapes.
  5. Add good optics. A clear, reliable scope helps you make accurate, ethical shots every time.

Field Tips for Ethical Airgun Hunting

  • Know your effective range and don’t take shots beyond it.
  • Always aim for vital areas for clean, humane kills.
  • Keep detailed notes on your setup, pellet type, and velocity.
  • Follow all game laws and secure permissions before hunting.

Ethical shooting practices protect wildlife and keep airgun hunting respected among traditional hunters.


Why Shop Missouri Airguns

If you’re ready to experience these advantages for yourself, visit MissouriAirguns.us. You’ll find reliable, high-performance air rifles, scopes, and accessories for hunters of every level — from backyard pest control to full-scale field hunts.

Whether you’re interested in precision PCP rifles, pellets, or optics, Missouri Airguns offers trusted brands and expert service to help you get started right.


Conclusion

Airguns have evolved into powerful, precise hunting tools that deliver quiet performance, lower costs, and unmatched versatility.

By choosing the right rifle, pellet, and setup for your game, you can enjoy ethical, efficient, and rewarding hunts — all while keeping noise, recoil, and expenses to a minimum.

.

Key Takeaways

  • Airguns offer advantages such as quiet operation, low recoil, and lightweight design, making them ideal for various hunting scenarios.
  • They require less maintenance and are cheaper to run compared to traditional firearms due to inexpensive pellets.
  • Airguns provide versatility for different game and often have legal flexibility in areas where conventional firearms may be restricted.
  • They serve as excellent training tools for improving shooting skills and can be safely stored and handled, making them suitable for new shooters.
  • In conclusion, modern airguns combine performance, ethical hunting practices, and affordability, enhancing the hunting experience.

Featured products

Tags:
No tags for this post.

Posted on

Air Rifle Setup and Zeroing Checklist: A Complete Step-by-Step Guide

Introduction

Every precision shooter knows that accuracy starts with proper setup. Whether you’ve just unboxed a new precharged pneumatic (PCP) rifle or you’re re-zeroing after a scope upgrade, a careful setup process ensures consistent accuracy, safety, and confidence behind the trigger.

This air rifle zeroing checklist covers everything — from safety and inspection to scope mounting, bore-sighting, chronograph logging, and final trajectory checks. Follow these steps to create a reliable, repeatable zero and get the most out of your rifle.


1. Safety Comes First

Before doing anything else, confirm the rifle is unloaded and depressurized to a safe level. Remove all pellets and magazines, check the breech, and ensure the muzzle is pointed in a safe direction at all times.

If you’re working on a PCP, confirm the reservoir pressure is within the safe handling range or fully vented. Always wear eye protection when firing or testing — even during setup shots. A clean, safe workspace prevents accidents and protects both shooter and gear.


2. Tools You’ll Need

Gathering the right tools before you start makes the process smoother and more precise.

  • Torque driver or Allen keys – for all mounting screws
  • Small bubble level (or phone level app) – to keep everything aligned
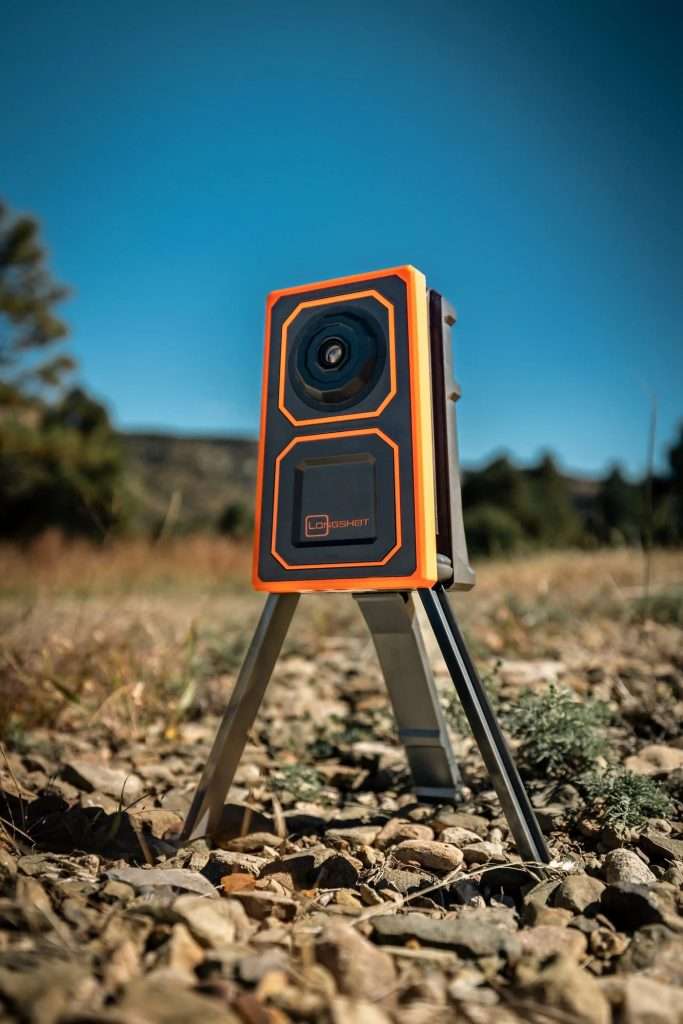
  • Chronograph – for velocity measurements
  • Stable rest or sandbag – to eliminate movement while zeroing
  • Targets – with visible aim points and space to mark impacts
  • Several pellet types – test at least three different brands or weights

3. Quick Visual and Mechanical Inspection

Before mounting optics, take a few minutes to examine your rifle.

  1. Look down the barrel with a bore light or safe pull-through to confirm it’s clear.
  2. Hand-check the stock screws, scope rail bolts, and trigger guard screws. They should be snug but not over-tightened yet.
  3. Inspect the air cylinder or bottle for dents, corrosion, or damage. If you see anything questionable, stop and consult the manufacturer or a qualified technician before proceeding.

This step takes only a few minutes but prevents bigger issues later.


4. Mounting the Scope

A properly mounted scope is the foundation of every accurate setup.

  1. Secure the rifle in a rest or bench vise with protective padding.
  2. Attach the base and rings according to the manufacturer’s instructions.
  3. Set eye relief: turn the magnification to the highest power and adjust the scope forward or backward until you see a full, clear sight picture from your natural shooting position. Typically, you’ll end up around 3 inches of eye relief.
  4. Level it: use your bubble level to ensure the rifle and reticle are perfectly aligned — this prevents canting errors later.
  5. Tighten evenly: torque the ring screws in a cross-pattern, using the torque value recommended by your scope or ring manufacturer (commonly 15–20 in-lbs).

The goal is to secure the optic firmly without twisting the tube or overtightening.


5. Bore-Sighting to Save Pellets

A quick bore-sight ensures your first shots land on paper instead of flying off-target.

  • If you have a laser bore sighter, align the laser with the center of your target at 10–15 yards.
  • If not, remove the bolt (if applicable) and look down the bore, centering it on the same point. Without moving the rifle, adjust the scope’s crosshairs to match.

This method saves time and pellets when you move to live firing.


6. Chronograph Baseline

Your chronograph is your window into consistency.

  1. Place the unit 1–3 feet in front of the muzzle, aligned with the bore.
  2. Fire a string of 5–10 shots with your preferred pellet.
  3. Record the average velocity, extreme spread, and standard deviation (SD).

A well-regulated PCP rifle will show minimal variation (often under 10 fps). A larger spread may mean your regulator, fill pressure, or pellet choice needs attention. Record this data — it’s your performance baseline.


7. Choosing Your Zero Distance

The two most common air rifle zero distances are 25 yards and 50 yards.

  • 25 yards: Ideal for pest control, backyard plinking, or general-purpose shooting.
  • 50 yards: Suited for high-powered PCPs, long-range target work, or hunting setups.

If you’re new, start closer (around 15 yards) to make quick sight adjustments, then move back to your final zero distance.


8. Zeroing the Scope (Step-by-Step)

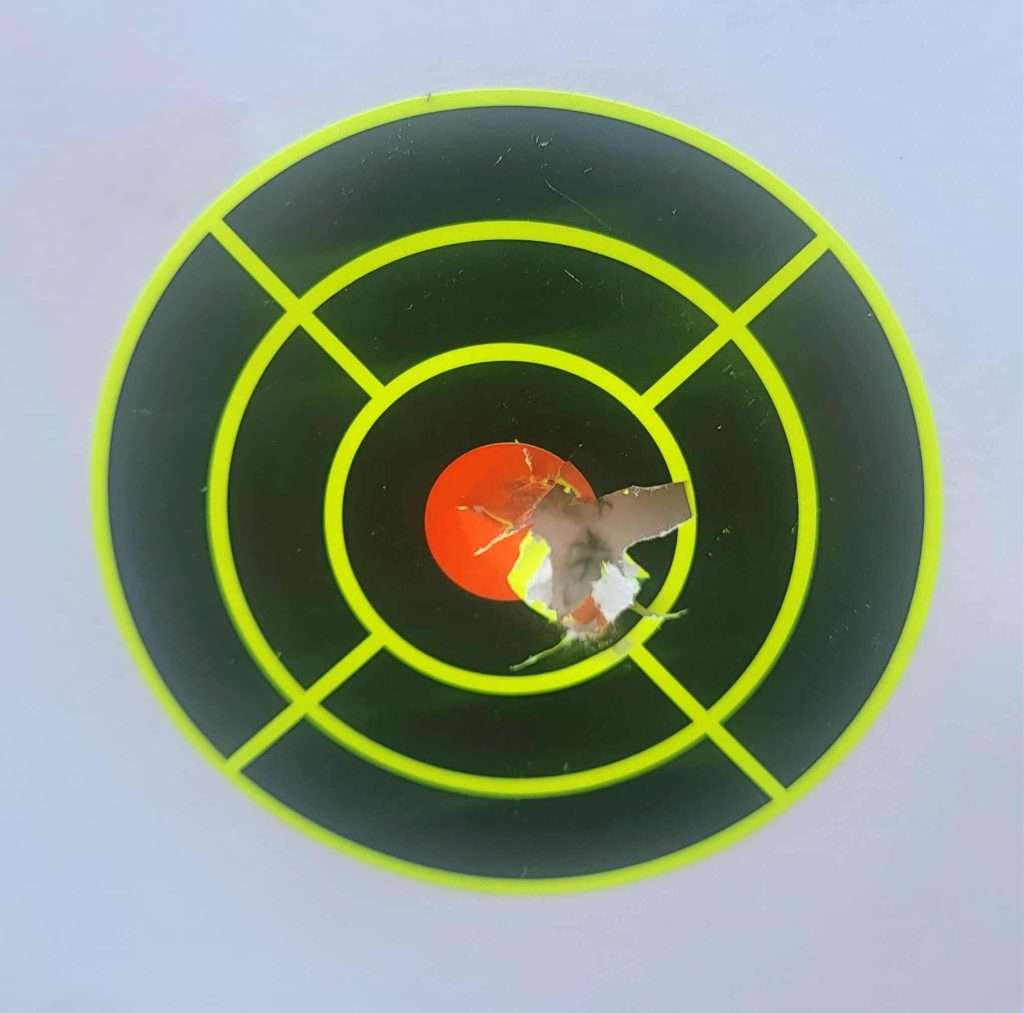
  1. Fire a group: From a stable rest, shoot a 3–5 shot group while aiming at the same target center.
  2. Measure the offset: Determine how far the group center is from the bullseye — both vertically and horizontally.
  3. Calculate your clicks:
    • If your scope is ¼ MOA per click, 1 MOA = 1 inch at 100 yards.
    • At 25 yards, 1 MOA = 0.25 inches.
    • Example: If your group is 0.5 inches low at 25 yards → 0.5 ÷ 0.0625 = 8 clicks up.
  4. Adjust and confirm: Dial the correction, shoot again, and repeat until your group is centered.

Patience here pays off — small, consistent adjustments yield the most accurate zero.


9. Pellet Testing and Selection

No two barrels shoot exactly alike. Testing several pellet types is the only way to find your rifle’s favorite.

  • Test at least three different brands or weights.
  • For each type, shoot five-shot groups at your zero distance.
  • Record:
    • Pellet name and grain weight
    • Average velocity
    • Velocity spread (ES or SD)
    • Group size

The pellet that gives the smallest groups and most consistent velocity is your match. Keep detailed notes — your future self will thank you.


10. Verify at a Second Distance

Once your primary zero is locked in, test at a longer range (for example, if you zeroed at 25 yards, check again at 50 yards).

This step helps you learn your rifle’s trajectory and holdover points. Pellets drop faster than bullets, so knowing your secondary zero ensures confident field shots.


11. Calculate Foot-Pounds of Energy (FPE)

To compare power or log hunting setups, calculate your rifle’s energy using this simple formula: FPE=velocity2×pellet weight (grains)450240\text{FPE} = \frac{\text{velocity}^2 \times \text{pellet weight (grains)}}{450240}FPE=450240velocity2×pellet weight (grains)​

Example:

  • Velocity = 850 fps
  • Pellet weight = 25 grains

8502=722,500850^2 = 722,5008502=722,500
722,500×25=18,062,500722,500 \times 25 = 18,062,500722,500×25=18,062,500
18,062,500÷450,240≈40.1 FPE18,062,500 ÷ 450,240 ≈ 40.1 \text{ FPE}18,062,500÷450,240≈40.1 FPE

That means your rifle delivers roughly 40 foot-pounds of energy — a solid figure for mid-to-large game air rifles.


12. Troubleshooting Common Issues

  • POI shifts after tightening rings: Loosen, re-level, and re-torque evenly. Uneven tension can twist the scope.
  • Inconsistent chronograph readings: Check lighting conditions, pellet seating, and chronograph distance.
  • Scope won’t track correctly: Inspect for stripped threads, loose mounts, or internal mechanical limits.

Most zeroing issues trace back to either loose hardware or rushed adjustments — take your time and double-check each step.


13. Quick Final Checklist

✅ Rifle unloaded and cleared
✅ Stock and rail bolts snug and torqued
✅ Scope mounted, leveled, and tightened evenly
✅ Bore-sighted to save pellets
✅ Chronograph baseline logged
✅ Pellet testing completed
✅ Zero confirmed at both primary and secondary distances

Print or save this list — it makes future maintenance and re-zeroing simple.


14. Keep It Safe and Consistent

Consistency is accuracy’s best friend. After you’ve dialed in your zero, keep using the same pellets, fill pressure, and technique. Small changes in hold, temperature, or ammo can affect point of impact.

Wipe your rifle down after each session and store it depressurized (for PCPs) to extend component life.


15. Where to Get the Right Gear

If you’re looking for quality scopes, rings, chronographs, or premium air rifles, visit MissouriAirguns.us.
They stock top brands like Macavity Arms, Skout, and AirForce, plus accessories to make your setup safe, accurate, and competition-ready.


Conclusion

Zeroing your air rifle isn’t complicated — it’s a methodical process that rewards patience. By following this air rifle zeroing checklist, you’ll build confidence in your setup, understand your rifle’s performance, and ensure that every shot counts.

Keep notes, stay consistent, and make safety your first habit every time you pick up your airgun.

Key Takeaways

  • Safety is the first priority when preparing to zero your air rifle, ensuring the rifle is unloaded and safe.
  • Gather essential tools like a torque driver, chronograph, and bubble level for effective setup.
  • Follow a systematic approach in your air rifle zeroing checklist, covering scope mounting to pellet testing.
  • Confirm your primary zero and verify accuracy at a secondary distance for consistent performance.
  • Troubleshoot common issues, ensure proper maintenance, and stay consistent for optimal results.

Tags:
No tags for this post.